This post assumes that you have already installed and setup McAfee ePolicy Orchestrator on a standalone or cluster mode.
Step 1:
Disable internet explorer enhanced security configurations as shown in below screen shot.

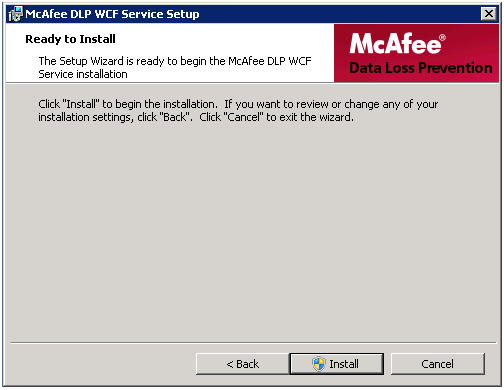
Step 2:
Install McAfee DLP WCF service on the ePO (database) server (extract DLP setup to find WCF service installer). In case you have a cluster install this service on both roles.

Even in case you have installed ePO in cluster mode, don’t install DLP WCF service in the shared drive.


If you have installed SQL server in cluster mode, mention SQL cluster network name in the Database server field as shown in below screenshot.


Step 3:
Create two shared folders for evidence and whitelist respectively. If you have ePO in cluster mode, create these folders in the shared data drive where ePO server installation files are installed. Repeat next step for each folder.


 For evidence folder, also add Administrators(local) group as shown in the below screen shot.

Step 4:
Now add the DLP extension in ePO server. (do this step by accessing ePO console on the server itself). Click on Install extension and browse the extension file. Click OK and the DLP extension will be installed.

Once the extension is installed, the next step is to open ePO console and open the DLP policy and DLP monitor. This will require some configurations for the DLP management consoles. This is required to be installed on the management workstation and/or ePO server wherever from you access the ePO console.
After finishing this step, the next and final step is to check-in the DLP agent in master repository so that it can be pushed on the client workstations.
Step 5:
After installation initial license is given for 90 days and with this license not all features are enabled so you have to update your license as shown below.

Enter your full license key, log off from ePO server and login again. To enable full product features go to agent configurations -> edit global agent configuration.

Now go to File Tracking and enable the option Device control and full content protection.

Step 1:
Disable internet explorer enhanced security configurations as shown in below screen shot.

Step 2:
Install McAfee DLP WCF service on the ePO (database) server (extract DLP setup to find WCF service installer). In case you have a cluster install this service on both roles.

Even in case you have installed ePO in cluster mode, don’t install DLP WCF service in the shared drive.


If you have installed SQL server in cluster mode, mention SQL cluster network name in the Database server field as shown in below screenshot.


Step 3:
Create two shared folders for evidence and whitelist respectively. If you have ePO in cluster mode, create these folders in the shared data drive where ePO server installation files are installed. Repeat next step for each folder.


Step 4:
Now add the DLP extension in ePO server. (do this step by accessing ePO console on the server itself). Click on Install extension and browse the extension file. Click OK and the DLP extension will be installed.

Once the extension is installed, the next step is to open ePO console and open the DLP policy and DLP monitor. This will require some configurations for the DLP management consoles. This is required to be installed on the management workstation and/or ePO server wherever from you access the ePO console.
After finishing this step, the next and final step is to check-in the DLP agent in master repository so that it can be pushed on the client workstations.
Step 5:
After installation initial license is given for 90 days and with this license not all features are enabled so you have to update your license as shown below.

Enter your full license key, log off from ePO server and login again. To enable full product features go to agent configurations -> edit global agent configuration.

Now go to File Tracking and enable the option Device control and full content protection.

No comments:
Post a Comment
Please Use Good Leanguage